Creating a lighted reindeer is one of the best ways to bring the magic of Christmas to life. Whether you want to decorate your home, a shopping mall, or a public square, a glowing reindeer adds a festive and elegant touch. This article explains how to make your own reindeer with lights, based on professional production standards.
Why Choose a Lighted Reindeer Decoration
Lighted reindeer displays combine art and illumination, making them ideal for both private and commercial use. Compared to ordinary string lights, a 3D lighted reindeer becomes a centerpiece that draws attention and spreads holiday warmth. These decorations are suitable for homes, hotels, city plazas, and winter festivals.

Materials You Will Need
To make a reindeer similar to the ones shown in the images above, prepare the following materials:
Metal frame (steel or aluminum, pre-welded or modular)
Around 3000 LED lamp beads
Outdoor waterproof LED string lights
Zip ties or clips for attaching lights
Waterproof power adapter and cables (IP44 or higher)
Stakes or weights for securing the structure
Optional: clear PVC tubing for added protection
For a simpler approach, you can purchase a pre-made reindeer frame kit and focus on lighting and decoration.
Step-by-Step Instructions
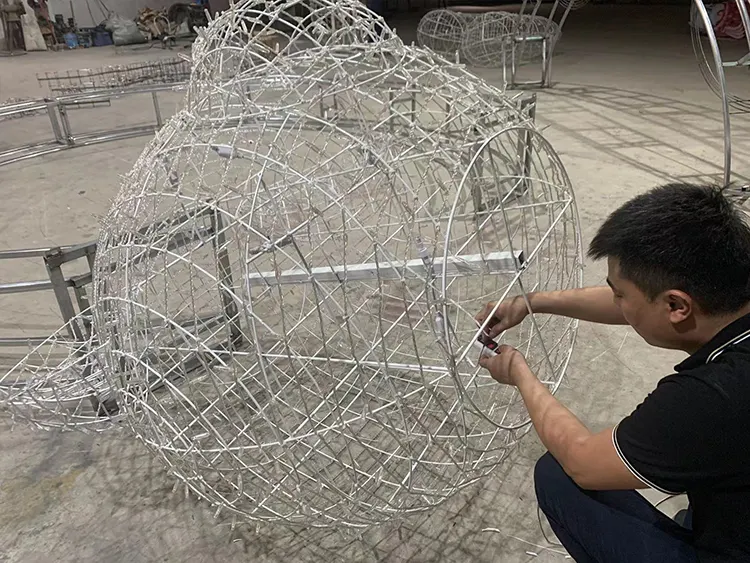
1. Design the Frame
Start by sketching or 3D modeling the reindeer shape, including the head, body, and legs. Make sure the structure is balanced and strong enough to support the lights.
2. Assemble the Structure
If using a modular frame, assemble all parts and check that the joints fit well. Modular frames are easy to disassemble, store, and transport, which is a major advantage for commercial use.

3. Install the Lights
Carefully wrap the LED string lights around the frame. Keep the spacing even so the reindeer glows uniformly. For a life-size figure, approximately 3000 LED beads create a bright, elegant effect.
4. Waterproof the Connections
Use outdoor-rated lights and ensure that all plugs and connectors are sealed against moisture. Keep all electrical parts elevated from the ground to avoid water damage.
5. Test the Lights
Before setting up the decoration outdoors, connect the power and check that every section lights up. Replace any faulty bulbs or connectors.
6. Set Up and Secure the Reindeer
Position the reindeer in your desired location and secure it with stakes or weights. Make sure it can withstand wind or rain. Pair it with other decorations like Christmas trees, sleighs, or stars for a complete holiday scene.
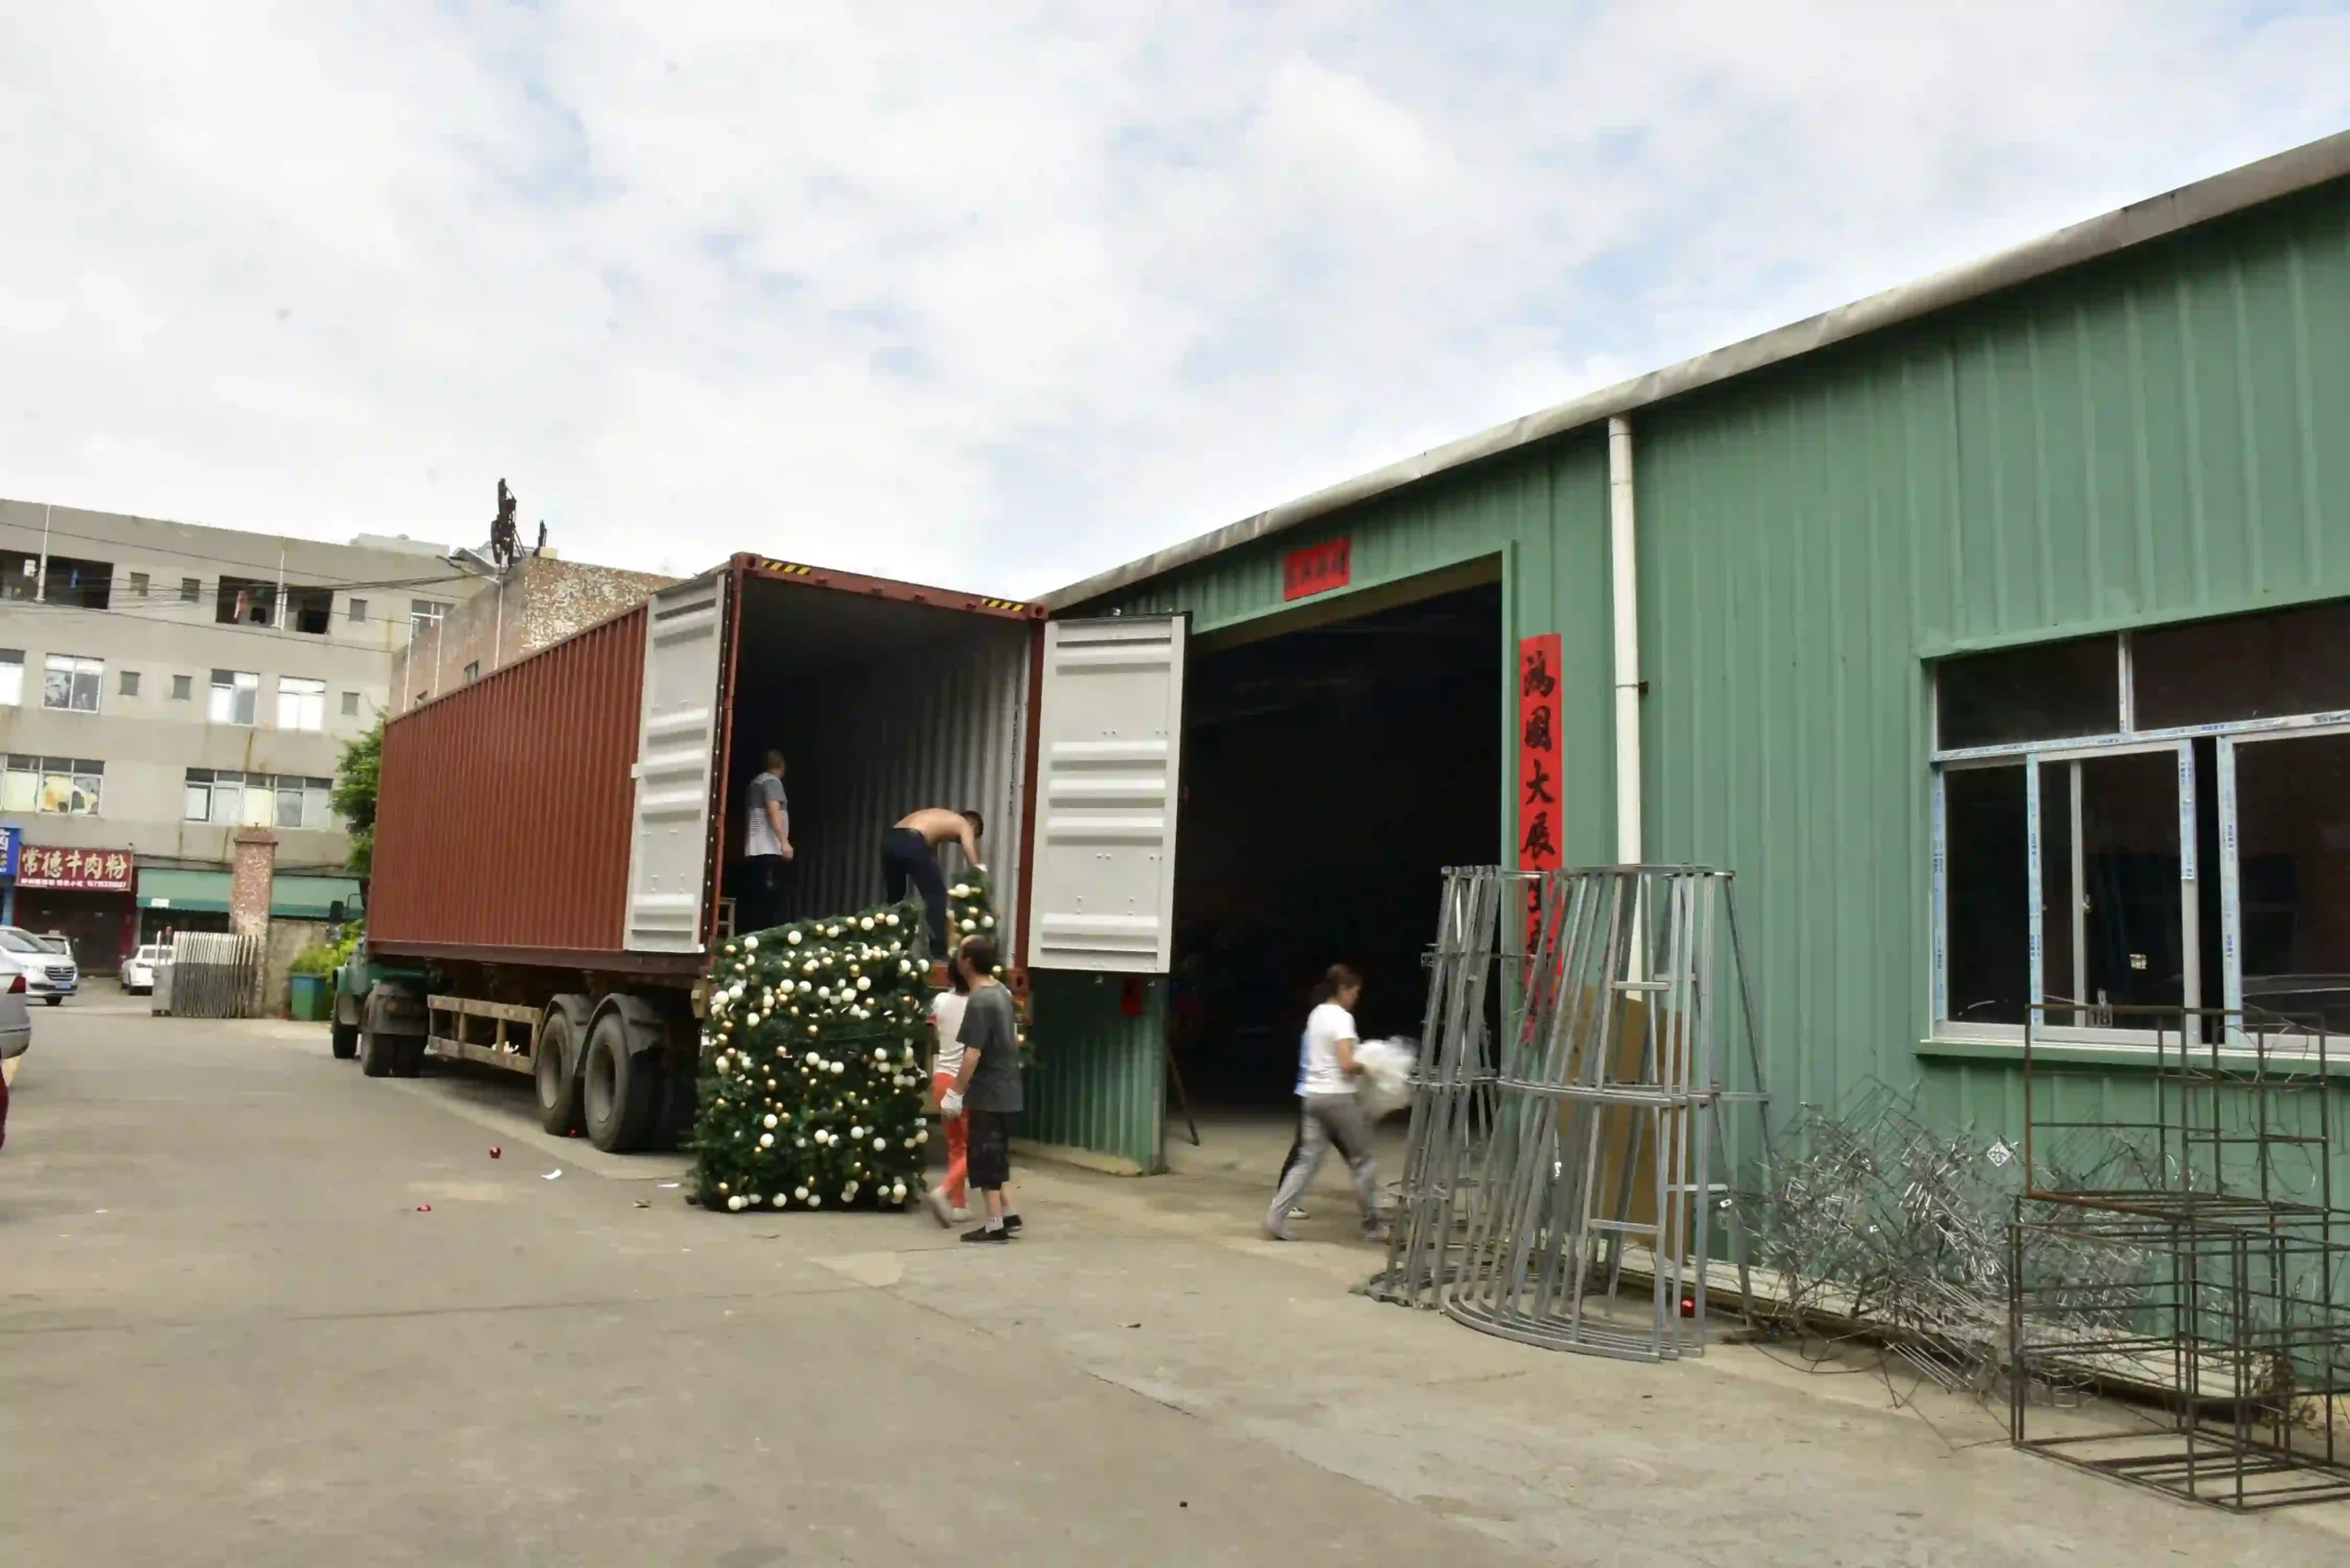
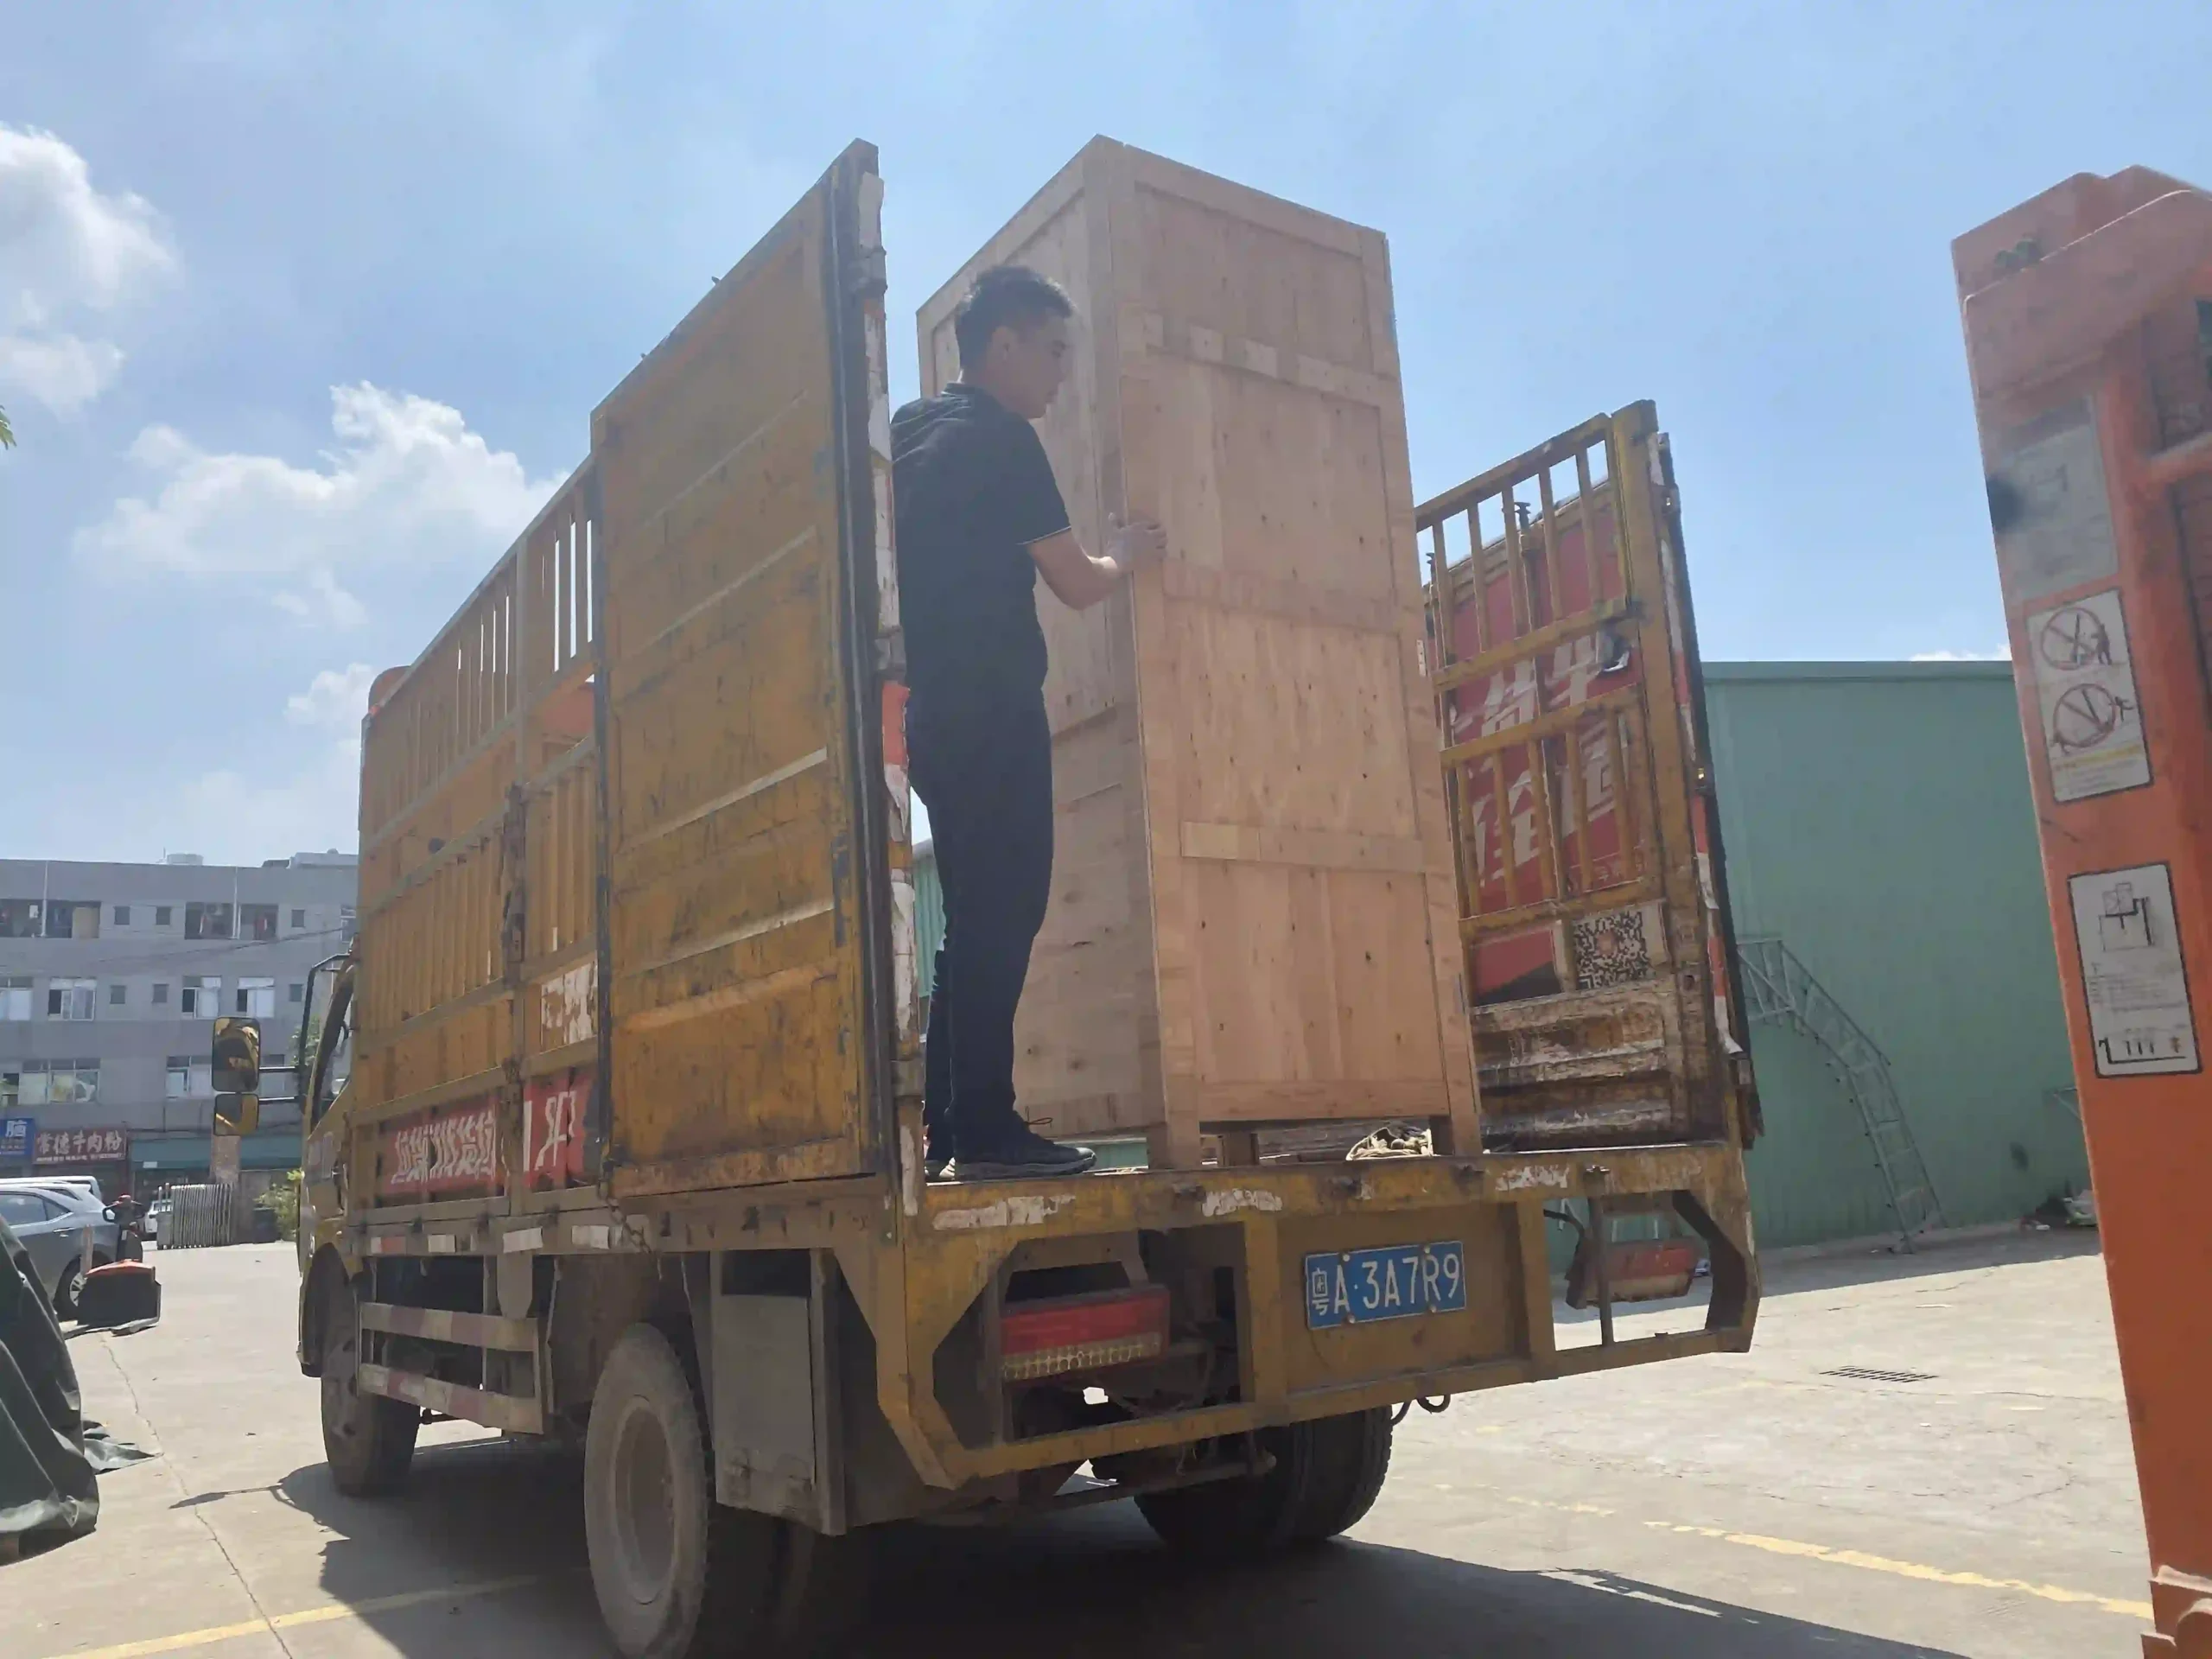
Quality and Craftsmanship
Professional lighted reindeer decorations go through a complete process that includes design, metal welding, LED installation, packaging, and shipping. Each step ensures high quality and durability.
A good product features:
A strong, rust-resistant metal frame
Energy-efficient LED bulbs
Easy assembly and disassembly
Outdoor waterproof protection
High-quality models can be used year after year without fading or damage.
Tips for Long-Term Use
Always use low-voltage LED systems (24V–31V) for safety and energy efficiency.
Store the reindeer in a dry place after the holiday season.
Clean the frame and check all cables before reusing.
Use a timer to automatically turn lights on and off each evening.
How to make a reindeer with lights?
Making a reindeer with lights is a rewarding project that combines creativity and craftsmanship. With a durable metal frame, bright LEDs, and proper waterproofing, you can create a stunning Christmas centerpiece that glows beautifully in any outdoor space. High-quality reindeer lights not only enhance your holiday atmosphere but also become a festive tradition for years to come.