How to Make a Christmas Light Arch: A Step-by-Step Guide
A Christmas light arch can be used at holiday events, entrances, walkways, shopping centers, parks, plazas, and other festive spaces. The basic process includes planning the size and shape, preparing the frame, selecting the lighting, fixing the lights, arranging the power supply, and adding the final decorative details.
This guide uses a heart-shaped Christmas light arch as an example, but the same basic steps can also be applied to other arch shapes.
1. Plan the Size, Shape, and Location
Start by deciding where the arch will be installed and measuring the available space. The width, height, opening size, and overall shape should match the installation area.
A heart-shaped love motif arch works well for entrances, photo areas, Christmas events, and commercial displays where visitors can walk through or stand inside the structure.
For outdoor installation, the lighting and electrical components should be suitable for the expected weather conditions. The Love Gift Box Arch Lighting is designed as an outdoor decorative lighting product for seasonal projects.
2. Choose the Right Christmas Lights
LED string lights are a practical choice for a Christmas light arch. They can follow curved frames closely and provide dense illumination without requiring large individual bulbs.
The lighting color should also match the design. Warm white can create a softer appearance, while colored LEDs can make the arch more vivid. Different colors can also be combined when the design calls for a stronger festive effect.
The Love Motif Light uses LED lighting across the shaped frame to keep the outline clearly visible at night.
Why Use LED Lights?
- Durability: LED lighting is suitable for repeated seasonal decorative use when paired with appropriate outdoor wiring and protection.
- Energy efficiency: LEDs consume less electricity than traditional incandescent bulbs, which is useful for larger installations.
- Long service life: The lighting used in this product is specified with a service life of up to 50,000 hours.
3. Prepare the Materials
The required materials depend on the size and intended use of the arch.
- PVC pipe or metal frame: Used to form the basic arch or heart-shaped structure.
- LED lights: String lights or net-style lighting can be selected according to the desired visual effect.
- Power supply: A suitable plug-in connection, outdoor extension system, or other compatible power source is required.
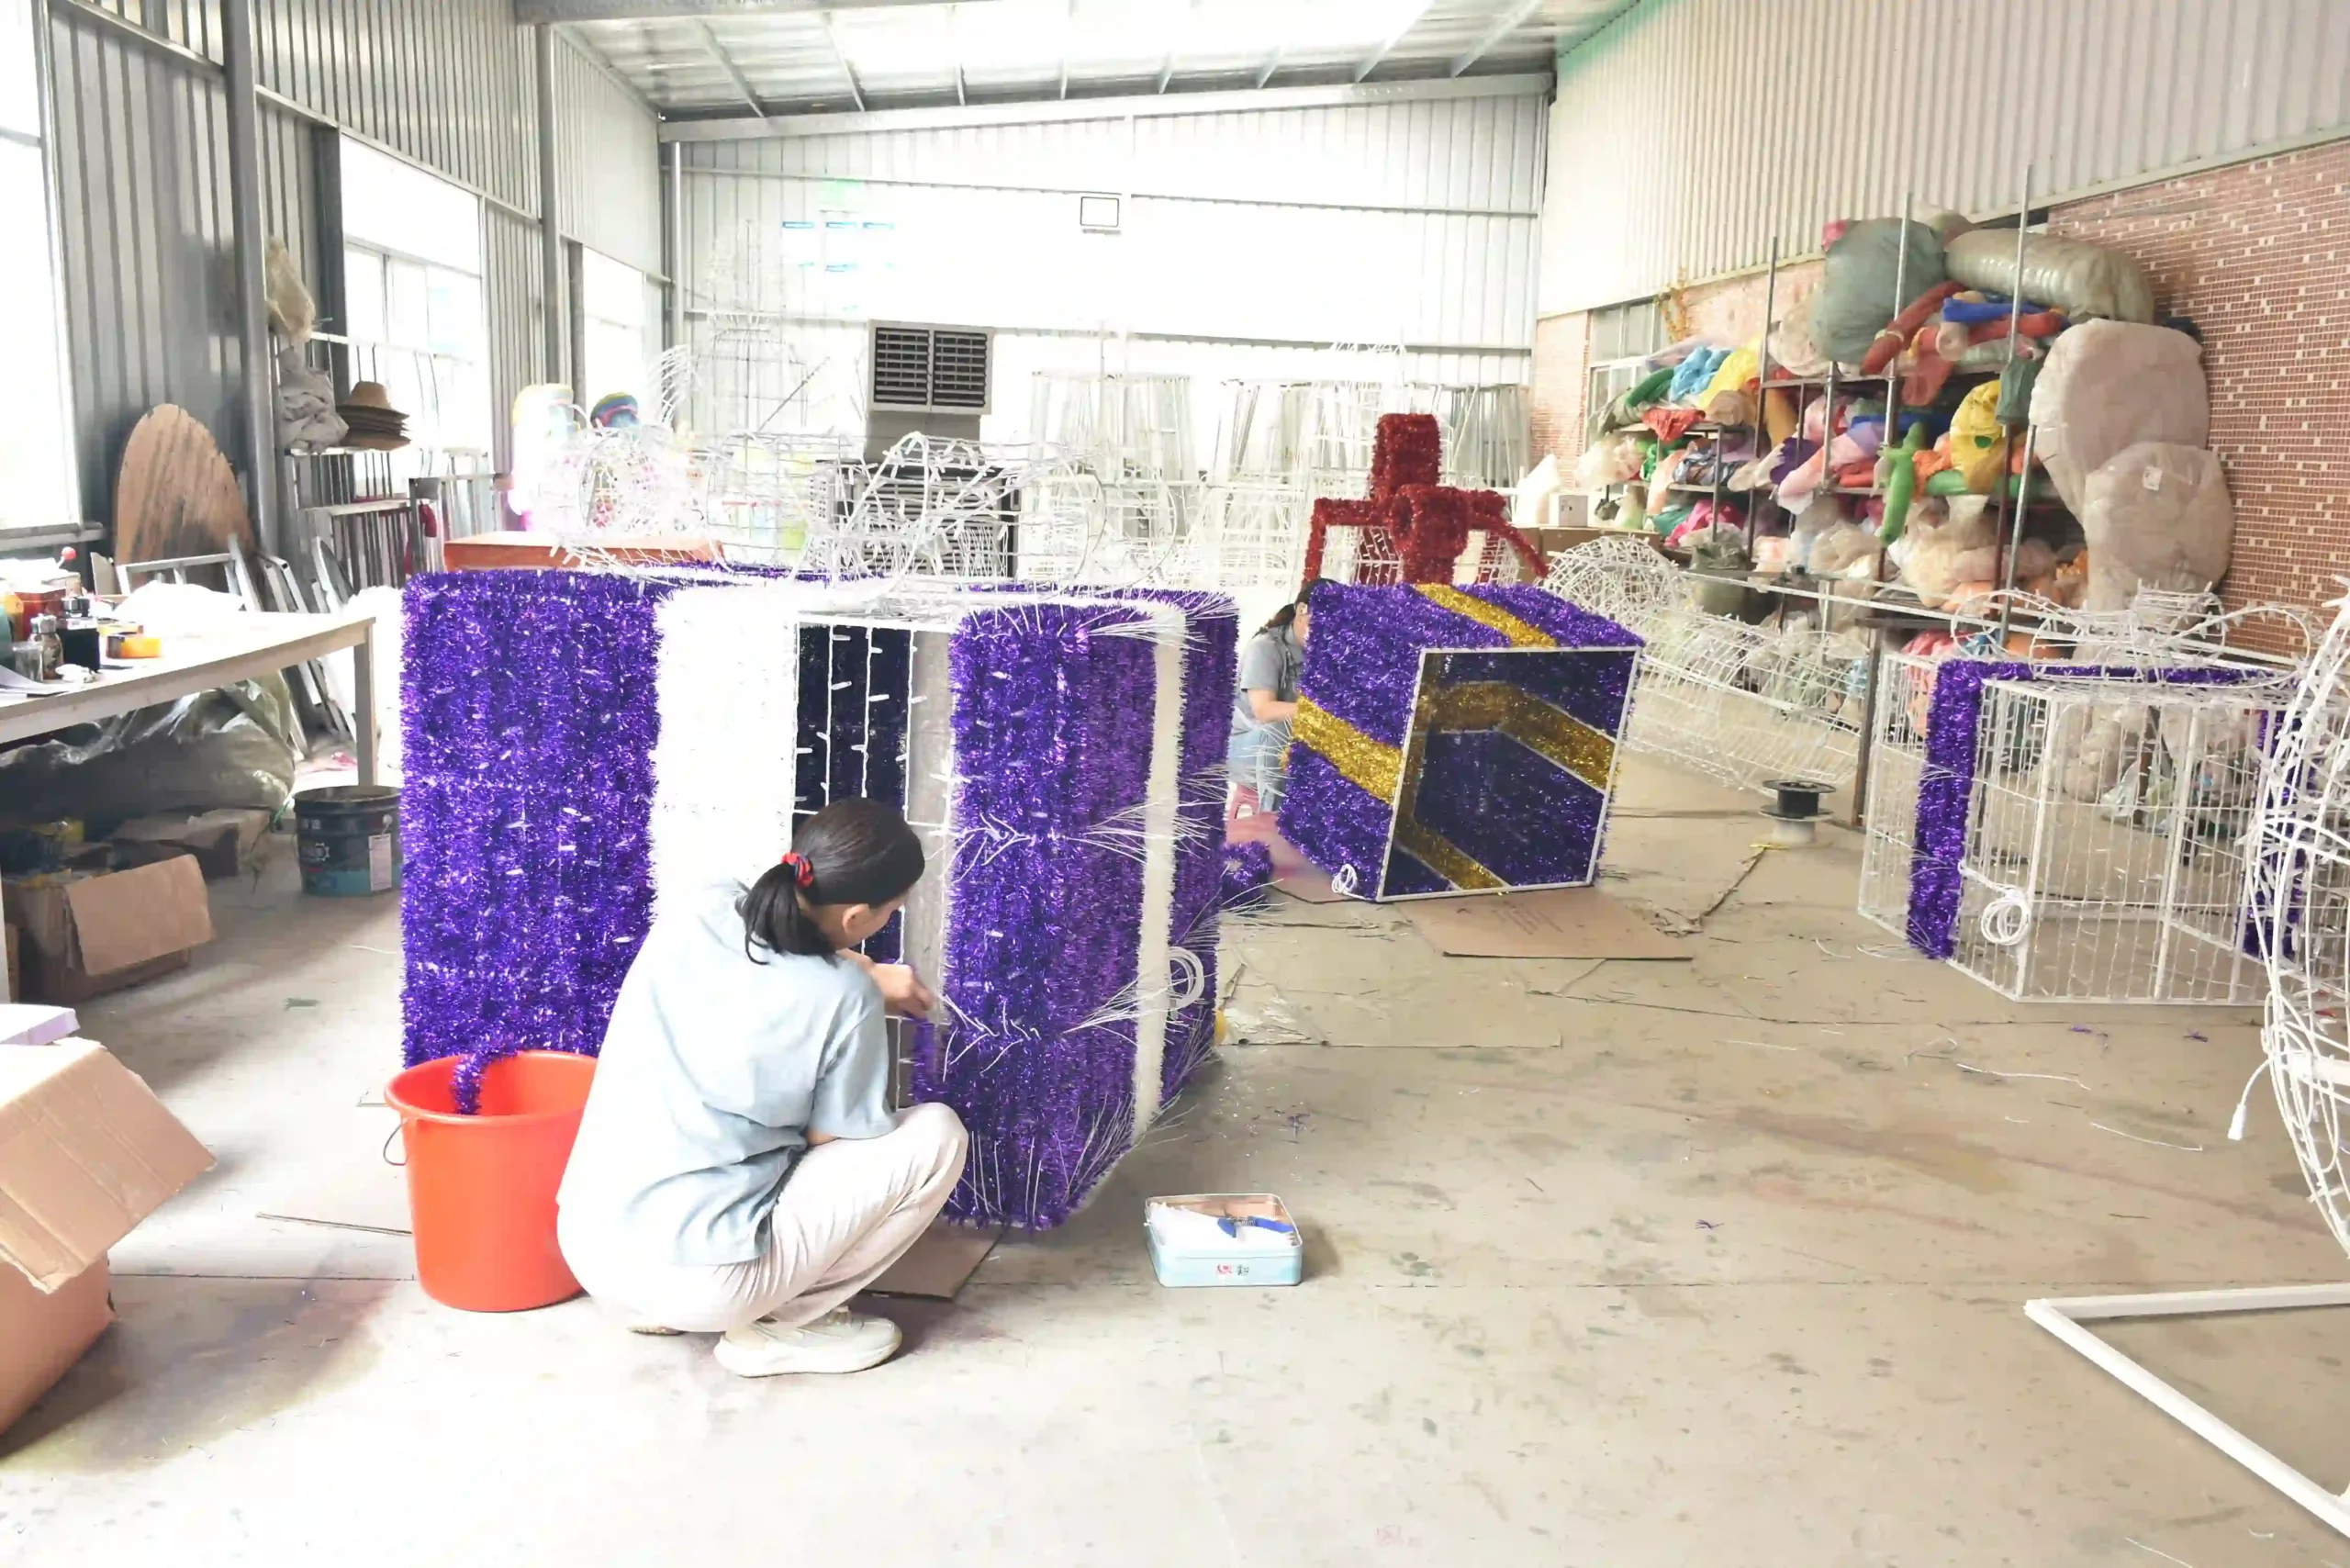
- Zip ties or clips: Used to secure the lighting to the structure and maintain even spacing.
Smaller decorative arches may use flexible PVC, while metal rods or metal frames can be shaped into larger and more defined structures.
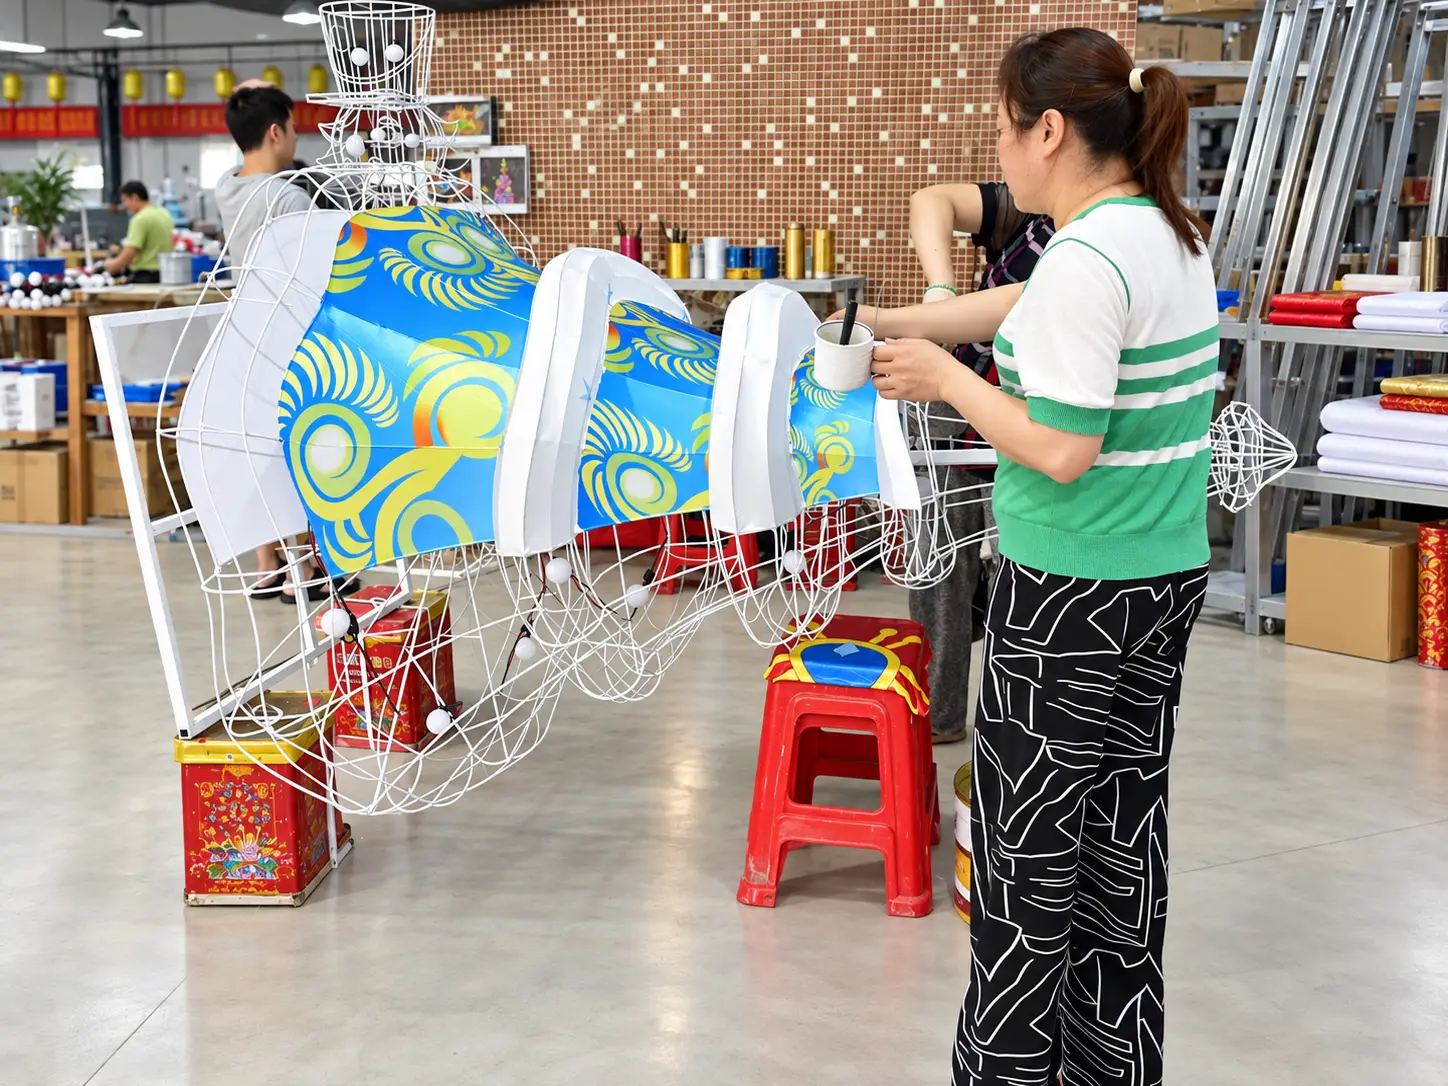
4. Build the Arch Frame
Shape the PVC pipe or metal rods according to the planned design. For a love motif, the frame needs to form the two upper curves of the heart and connect securely to the lower supporting structure.
Check the overall symmetry before attaching the lighting. The base should also provide enough support to keep the arch stable after the lights and decorative materials are added.
For outdoor installations, the structure should be selected and secured according to the size of the arch, local conditions, and the installation location.
5. Attach the LED Lights
Start from one section of the frame and work gradually around the entire structure. Keep the lights evenly spaced and secure them with clips or zip ties.
Avoid allowing the light strings to cross or tangle unnecessarily. A cleaner arrangement helps the finished outline remain consistent when the arch is illuminated.
Warm white and colored LEDs can be combined for a more varied effect. Additional illuminated mesh or glitter-style lighting can also be added when the design requires a denser surface.
6. Connect the Power Supply
After the lighting has been attached, connect the system to the selected power source and test the complete arch.
For outdoor use, electrical connections and wiring need suitable protection from moisture. Power cables should also be positioned so they do not interfere with pedestrian routes or installation access.
Test every lighting section before completing the decoration so any connection issue can be corrected while the wiring is still accessible.
7. Add the Final Decorative Details
Once the main lighting is working, additional Christmas elements can be added around the frame. Tinsel, ribbons, artificial snowflakes, gift boxes, ornaments, or festive figures can help the arch match the surrounding Christmas theme.
For a cleaner illuminated design, the frame can also remain focused mainly on the lights, allowing the shape itself to become the main visual feature.

Christmas Light Arch Design Examples


From a Frame to a Complete Christmas Light Arch
Building a Christmas light arch involves more than wrapping lights around a curved frame. Size, structural support, lighting density, electrical connections, outdoor conditions, and decorative details all affect the finished result.
For larger commercial and public projects, Holilite provides custom Christmas light arches for entrances, event routes, plazas, parks, shopping centers, and seasonal displays.